Hair transplant crust and scab removal is one of the most searched topics in the first two weeks after FUE or DHI surgery. Crusts are a normal part of healing. They protect the grafts while the skin closes, then soften and fall off with the washing plan your clinic gives you.
This is the ultimate guide: what crusts are, a day-by-day overview, step-by-step safe removal, recommended products, what to avoid, troubleshooting, and when to contact Turkus Hair Transplant Clinic, Spain.
If you already follow a short step-by-step washing routine, use this article to understand the full timeline and what to do if healing feels slow or uneven.
The golden rule stays the same: never pick, scratch or pull crusts off. Gentle softening and washing protect your grafts after FUE, DHI or Sapphire FUE.
In this guide you will find:
- quick insights for the first two weeks
- what crusts and scabs are after transplant
- day-by-day healing overview
- step-by-step safe removal
- products your clinic may recommend
- what to avoid
- troubleshooting stubborn crusts
- FUE and DHI notes
- when to call the clinic
- FAQ and next steps
Quick Insights
- Crusts (scabs) around grafts are normal after FUE and DHI.
- They usually start loosening between days 4 and 7.
- Most patients clear most crusts between days 7 and 12.
- Donor area crusts may behave slightly differently than the recipient zone.
- Use only clinic-approved lotion, foam or shampoo.
- Lukewarm water and fingertip pressure, never nails.
- Picking crusts is the main risk to graft survival in week one.
- If crusts stay thick after day 12, contact Turkus for advice.
- After crusts are gone, your clinic will guide you to normal washing.
What Are Crusts and Scabs After Hair Transplant?
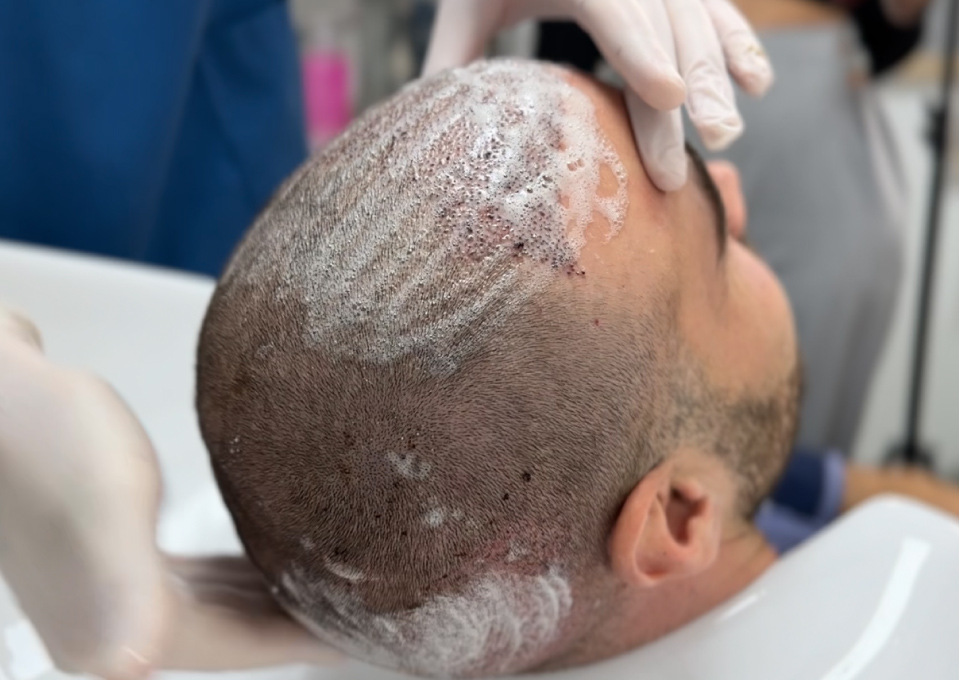
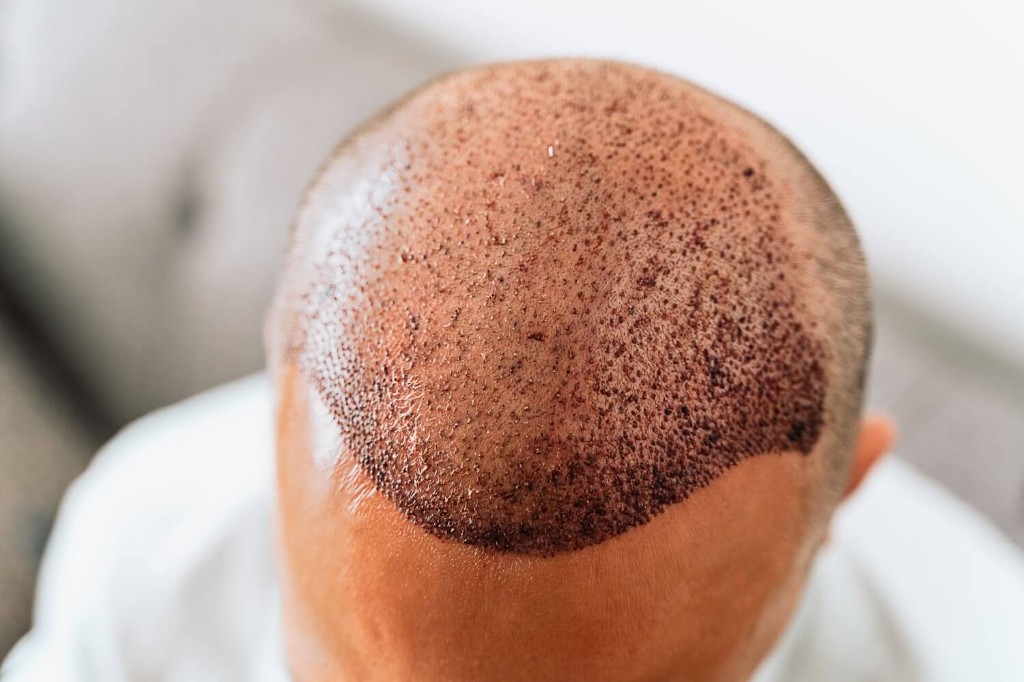
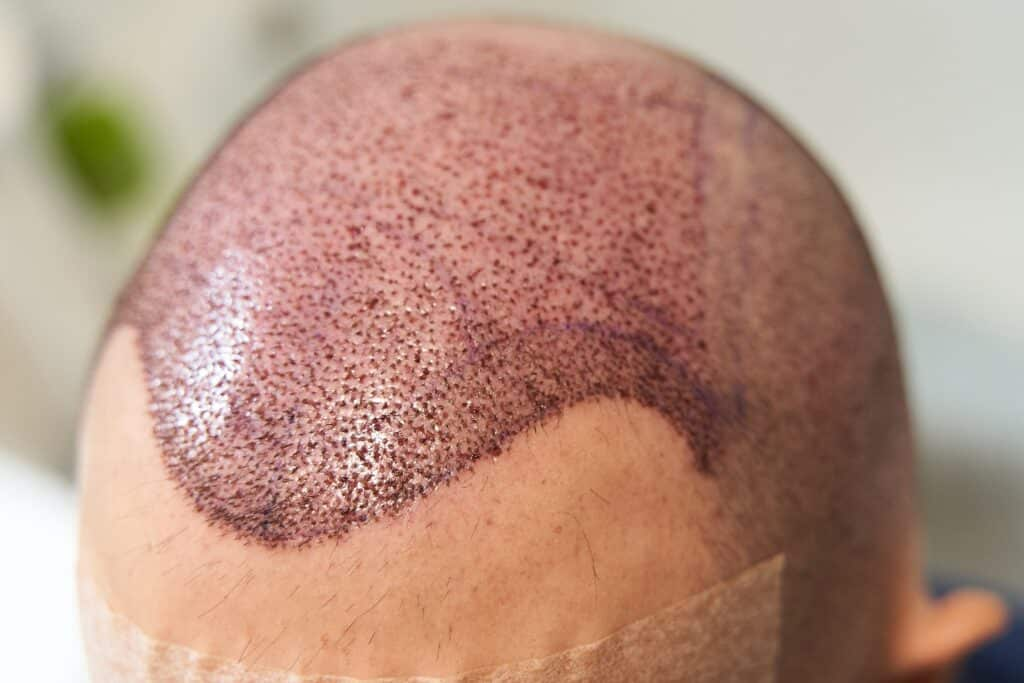
After FUE or DHI, tiny openings remain where each graft was placed. Blood, serum and healing fluid dry on the surface and form small crusts, often called scabs.
They are not dirt. They are part of normal wound healing. They shield the graft while the skin seals underneath.
Crusts may look darker on the recipient area (hairline, temples, crown) and lighter or flakier on the donor zone at the back or sides of the head.
Thickness varies by skin type, graft count, technique and how closely you follow aftercare. Oily or slower-healing skin may keep crusts a few days longer.
Day-by-Day Timeline: When Crusts Form and Fall Off
Day 0 (surgery day)
You leave the clinic with dressings or spray as instructed. Do not wash unless your team tells you to. Rest, sleep elevated if advised, and avoid touching the grafts.
Days 1 to 3
Crusts begin to form. Mild redness and tightness are common. Most clinics start or prepare the first gentle wash between day 1 and day 3. Follow only your written plan.
Days 4 to 6
Crusts become more visible. Softening lotion or foam (if prescribed) is often used before washing. Crusts should feel slightly softer after each correct wash, not fall off in one piece from picking.
Days 7 to 10
For many FUE and DHI patients, most recipient crusts loosen and rinse away with gentle washing. Some edges may remain. That is normal if they soften more with the next approved wash.
Days 11 to 14
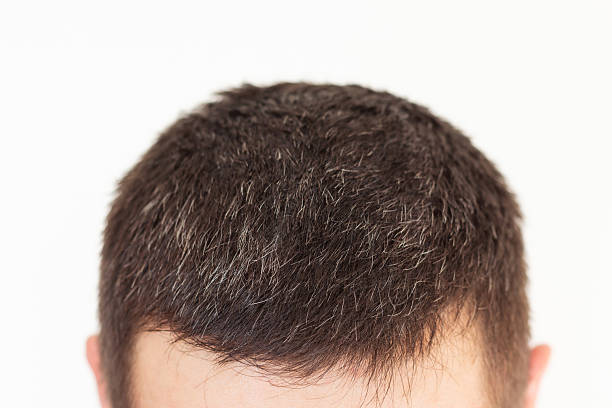
Most patients have few or no crusts on the recipient area. Donor crusts may still flake lightly. Your clinic may adjust products or washing frequency for the next phase.
After day 14
If small flakes remain, continue the clinic plan. Do not return to aggressive rubbing, saunas or harsh products until you are cleared. Normal hair washing returns step by step.
Step-by-Step: Safe Crust and Scab Removal
These steps match what Turkus and most reputable clinics teach. Always follow your personal aftercare sheet first.
Step 1: Wash your hands
Clean hands reduce infection risk before you touch the scalp.
Step 2: Apply clinic-approved softener
If you received a special lotion, oil-free foam or spray, apply it to the crusted zone for the exact time on your instruction sheet (often 30 to 45 minutes, sometimes longer for thick crusts).
Step 3: Rinse with lukewarm water
Use a cup, gentle shower stream or low pressure. Water should be lukewarm, not hot. Avoid directing strong jets at grafts.
Step 4: Shampoo with approved product
Use the clinic shampoo or a mild formula they allow. Lather in your hands first, then place on the scalp with fingertips.
Step 5: Gentle circular motions
Use flat fingertips in small circles for the time your clinic recommends (often 5 to 10 minutes on the recipient area). No nails, no scratching, no pulling.
Step 6: Rinse and pat dry
Rinse until product is gone. Pat dry with a clean soft towel or air dry. Do not rub back and forth.
Step 7: Repeat on schedule
Most plans use one or two washes per day in the first week, then reduce. Do not add extra washes on your own without asking the clinic.
Products That Help Soften Crusts
Only use what Turkus Hair Transplant Clinic approves for your case. Common categories include:
- clinic-provided aftercare foam or lotion for softening
- pH-balanced mild shampoo for the first weeks
- saline spray in the first 24 to 48 hours if prescribed
- antibiotic ointment only if explicitly prescribed
- clean soft towels reserved for scalp washing
- a cup or spray bottle for controlled rinsing
Do not swap in kitchen oils, alcohol, hydrogen peroxide, anti-dandruff shampoos with strong actives, or pharmacy creams unless your surgeon agrees. Wrong products can irritate grafts and delay healing.
What to Avoid During Crust Removal
- picking, peeling or scratching crusts
- using fingernails on the recipient area
- hot water or steam on the scalp
- high-pressure shower directly on grafts
- rubbing with a towel
- comb or brush on grafts until cleared
- tight hats or helmets too early
- gym sweat, sauna and swimming until allowed
- sunburn on a healing scalp
- home remedies (vinegar, lemon, baking soda, etc.)
- extra washes because crusts look thick
One forced removal can dislodge a graft. Patience and repetition of the correct wash matter more than speed.
Troubleshooting: Stubborn or Uneven Crusts
Crusts still thick after day 10
Do not scrape them. You may need longer softening time or an extra approved wash cycle. Send photos to Turkus so the team can advise before you change anything.
Crusts only on one zone
Hairline, crown and donor areas heal at slightly different speeds. Follow the plan for each zone if your sheet separates them.
Small bleeding when washing
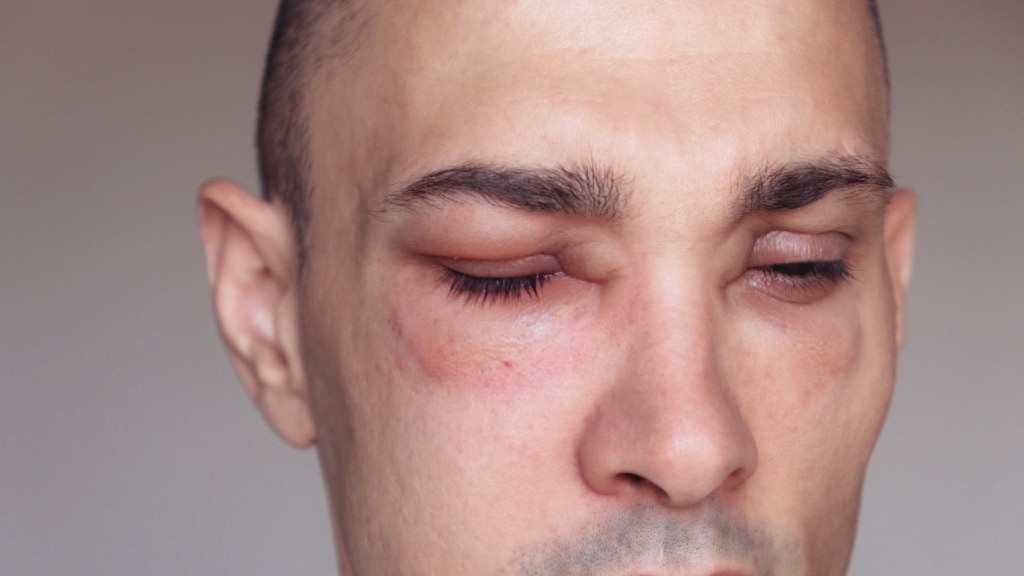
A trace of pink on the towel after gentle washing can happen early on. Heavy bleeding, spreading redness or pain needs clinic contact the same day.
Itching under crusts
Mild itch is common. Tap the area lightly through a clean cloth if needed. Do not scratch. Persistent itch with rash or discharge should be reviewed.
Donor area feels tighter than the front
Donor healing often flakes differently. Keep washing both areas as instructed without comparing them to online timelines from other patients.
FUE, DHI and Sapphire FUE: Does Technique Change Crust Care?
The basic crust care is similar for FUE, DHI and Sapphire FUE because all methods place grafts into the scalp. Channel size and implant style may change how the skin looks on day 1, but the rule of gentle softening and washing stays the same.
DHI patients still get crusts where grafts enter the skin. Sapphire blades may create slightly different redness patterns, not a license to wash harder.
At Turkus in Spain, aftercare is tailored to your technique, graft count and skin type. Bring your instruction sheet to every wash in week one.
When to Contact Turkus Hair Transplant Clinic
Contact the clinic promptly if you notice:
- crusts that do not soften after several correct washes
- thick crusts still covering most grafts after day 12
- increasing pain, swelling or warmth
- spreading redness or red streaks
- yellow or green discharge
- unpleasant smell from the scalp
- fever or feeling unwell
- many crusts removed at once after picking (tell the truth so the team can help)
- uncertainty about any step in your washing plan
Most questions are normal. A quick message or photo review at Turkus Hair Transplant Clinic is better than guessing at home.
Frequently Asked Questions
Are crusts the same as scabs after hair transplant?
Patients and clinics often use both words for the same small healing spots around grafts. Both mean dried surface healing, not infection by default.
How long until all crusts are gone?
Many patients are largely clear between days 7 and 12 on the recipient area. Some need until day 14 or a little longer. Donor flaking can continue slightly longer.
Can I remove crusts faster by washing more often?
No. Extra washing without approval can irritate grafts. Follow your schedule.
Will picking one crust ruin my result?
One pick may dislodge one graft or cause a small scar. Repeated picking raises risk. Stop picking and contact the clinic if it happened.
When can I use my normal shampoo?
Usually after your clinic confirms crusts are gone and the scalp is ready, often in the second or third week. Until then, use approved products only.
Is it normal to see hair inside the crust?
Yes. Shed hairs can stick in crusts. They are not necessarily lost grafts. Your clinic can explain what is normal during shock loss later.
Should I worry if crusts look dark?
Dark or brown crusts are common. Worry more about pain, smell, heavy discharge or crusts that never soften with the correct routine.
Final Thoughts
Crust and scab removal after a hair transplant is a short but important phase. The goal is not speed. The goal is safe softening, gentle washing and protecting every graft after FUE or DHI.
Use this timeline to know what is typical, use the step-by-step routine your clinic gives you, and contact Turkus Hair Transplant Clinic, Spain when anything does not match your plan.
When crusts are gone and healing moves forward, you can focus on the months ahead: growth phases, density and the result you planned with your surgeon.